Rail to Casper: Difference between revisions
Jump to navigation
Jump to search
mNo edit summary |
mNo edit summary |
||
| Line 31: | Line 31: | ||
}} | }} | ||
{{Trick step-by-step | {{Trick step-by-step | ||
| getting_out_header = | | getting_out_header = 08 | ||
| regular_picture01 = Heelside Railstand to Casper Regular SBS 01.jpg | | regular_picture01 = Heelside Railstand to Casper Regular SBS 01.jpg | ||
| Line 69: | Line 69: | ||
| regular_picture08 = Heelside Railstand to Casper Regular SBS 07.jpg | | regular_picture08 = Heelside Railstand to Casper Regular SBS 07.jpg | ||
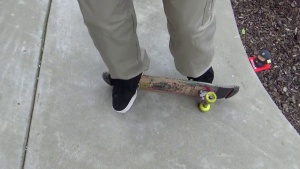
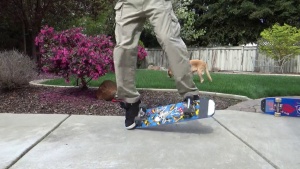
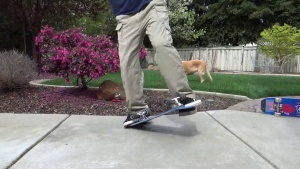
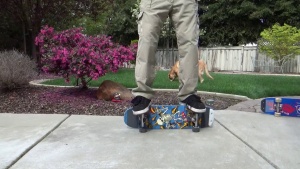
| regular_caption08 = You should now be balanced in the casper stance with all of your weight on your right (rear) foot.<br>Note: In a proper casper, your right (rear) foot should be completely resting on the nose and should not be touching the ground at all. Your left (front) foot should also never touch the ground during the duration of the casper. It may take some practice, and your feet can often touch the ground a little bit, but a no-touch capser is what you should be aiming for. | | regular_caption08 = You should now be balanced in the casper stance with all of your weight on your right (rear) foot.<br>Note: In a proper casper, your right (rear) foot should be completely resting on the nose and should not be touching the ground at all. Your left (front) foot should also never touch the ground during the duration of the casper. It may take some practice, and your feet can often touch the ground a little bit, but a no-touch capser (from either foot) is what you should be aiming for. | ||
| goofy_picture08 = Heelside Railstand to Casper Goofy SBS 07.jpg | | goofy_picture08 = Heelside Railstand to Casper Goofy SBS 07.jpg | ||
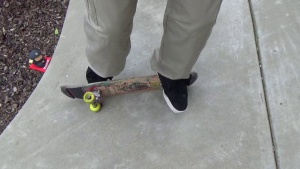
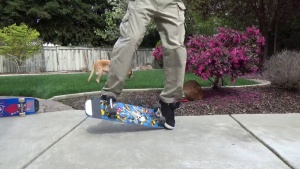
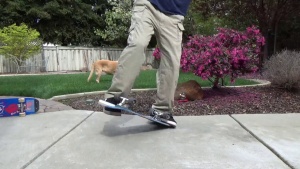
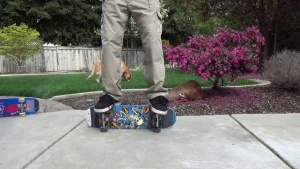
| goofy_caption08 = You should now be balanced in the casper stance with all of your weight on your left (rear) foot.<br>Note: In a proper casper, your left (rear) foot should be completely resting on the nose and should not be touching the ground at all. Your right (front) foot should also never touch the ground during the duration of the casper. It may take some practice, and your feet can often touch the ground a little bit, but a no-touch capser is what you should be aiming for. | | goofy_caption08 = You should now be balanced in the casper stance with all of your weight on your left (rear) foot.<br>Note: In a proper casper, your left (rear) foot should be completely resting on the nose and should not be touching the ground at all. Your right (front) foot should also never touch the ground during the duration of the casper. It may take some practice, and your feet can often touch the ground a little bit, but a no-touch capser (from either foot) is what you should be aiming for. | ||
| regular_picture09 = Heelside Railstand to Casper Regular SBS 08.jpg | | regular_picture09 = Heelside Railstand to Casper Regular SBS 08.jpg | ||
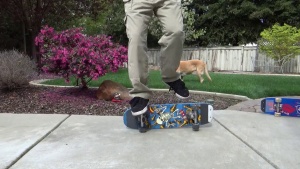
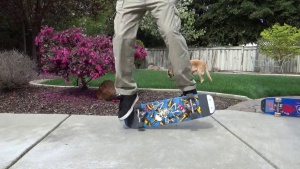
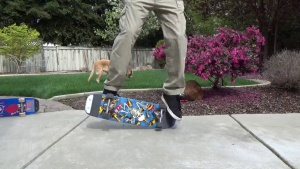
| regular_caption09 = | | regular_caption09 = Start bringing your front (left) foot up and jump slightly with your back (right) foot. | ||
| goofy_picture09 = Heelside Railstand to Casper Goofy SBS 08.jpg | | goofy_picture09 = Heelside Railstand to Casper Goofy SBS 08.jpg | ||
| goofy_caption09 = | | goofy_caption09 = Start bringing your front (right) foot up and jump slightly with your back (left) foot. | ||
| regular_picture10 = Heelside Railstand to Casper Regular SBS 09.jpg | | regular_picture10 = Heelside Railstand to Casper Regular SBS 09.jpg | ||
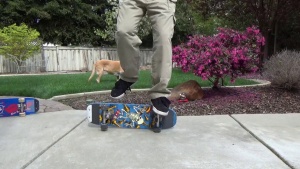
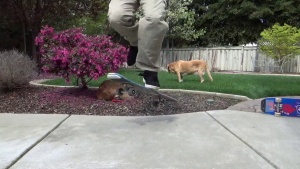
| regular_caption10 = | | regular_caption10 = Use both feet to guide the board in its lengthwise rotation. As you bring your front (left) foot up, also kick the nose to the left. | ||
| goofy_picture10 = Heelside Railstand to Casper Goofy SBS 09.jpg | | goofy_picture10 = Heelside Railstand to Casper Goofy SBS 09.jpg | ||
| goofy_caption10 = | | goofy_caption10 = Use both feet to guide the board in its lengthwise rotation. As you bring your front (right) foot up, also kick the nose to the right. | ||
| regular_picture11 = Heelside Railstand to Casper Regular SBS 10.jpg | | regular_picture11 = Heelside Railstand to Casper Regular SBS 10.jpg | ||
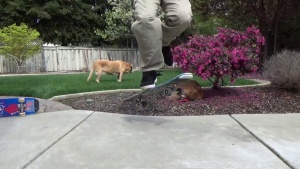
| regular_caption11 = | | regular_caption11 = Bring your back (right) foot back slightly to keep it out of the way of the path of the boards trajectory. | ||
| goofy_picture11 = Heelside Railstand to Casper Goofy SBS 10.jpg | | goofy_picture11 = Heelside Railstand to Casper Goofy SBS 10.jpg | ||
| goofy_caption11 = | | goofy_caption11 = Bring your back (left) foot back slightly to keep it out of the way of the path of the boards trajectory. | ||
| regular_picture12 = Heelside Railstand to Casper Regular SBS 11.jpg | | regular_picture12 = Heelside Railstand to Casper Regular SBS 11.jpg | ||
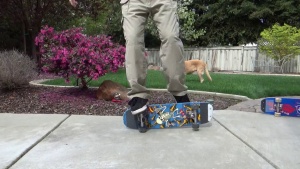
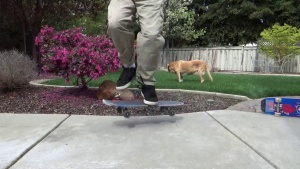
| regular_caption12 = | | regular_caption12 = Catch the board with your front (left) foot. | ||
| goofy_picture12 = Heelside Railstand to Casper Goofy SBS 11.jpg | | goofy_picture12 = Heelside Railstand to Casper Goofy SBS 11.jpg | ||
| goofy_caption12 = | | goofy_caption12 = Catch the board with your front (right) foot. | ||
| regular_picture13 = Heelside Railstand to Casper Regular SBS 12.jpg | | regular_picture13 = Heelside Railstand to Casper Regular SBS 12.jpg | ||
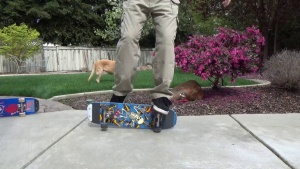
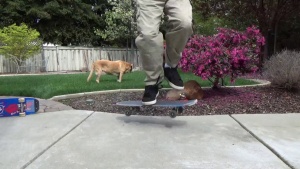
| regular_caption13 = | | regular_caption13 = Move your back (right) foot back over the top of the deck. | ||
| goofy_picture13 = Heelside Railstand to Casper Goofy SBS 12.jpg | | goofy_picture13 = Heelside Railstand to Casper Goofy SBS 12.jpg | ||
| goofy_caption13 = | | goofy_caption13 = Move your back (left) foot back over the top of the deck. | ||
| regular_picture14 = Heelside Railstand to Casper Regular SBS 13.jpg | | regular_picture14 = Heelside Railstand to Casper Regular SBS 13.jpg | ||
| regular_caption14 = | | regular_caption14 = Land. | ||
| goofy_picture14 = Heelside Railstand to Casper Goofy SBS 13.jpg | | goofy_picture14 = Heelside Railstand to Casper Goofy SBS 13.jpg | ||
| goofy_caption14 = | | goofy_caption14 = Land. | ||
}} | }} | ||
{{Skateboard setup | {{Skateboard setup | ||
| Line 124: | Line 124: | ||
| mounting_holes = Old school hole pattern | | mounting_holes = Old school hole pattern | ||
}} | }} | ||
Revision as of 02:35, 7 May 2016
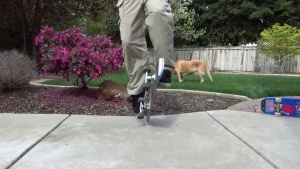
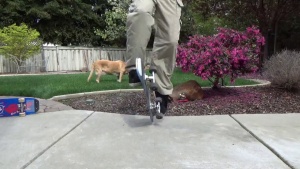
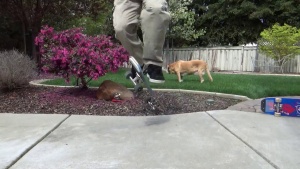
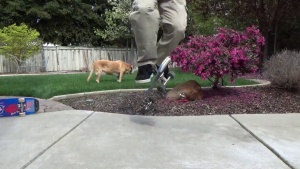
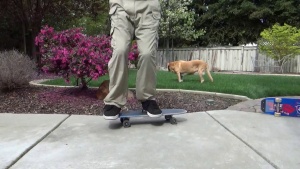
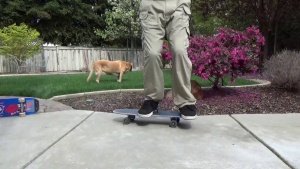
{{#invoke:Infobox|infobox}} A Heelside Railstand to Casper is one of many fun tricks you can do as a way of getting out of the Heelside Railstand.
Video
| Regular | Goofy |
|---|---|
Step-By-Step
| Regular | Goofy |
|---|---|
 |
 |
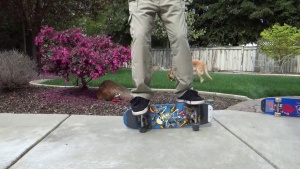 |
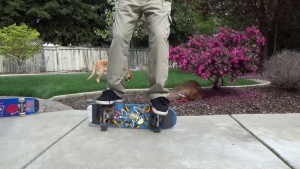 |
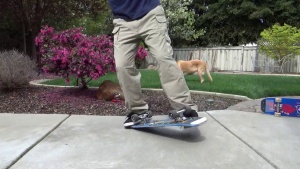 Note: In a proper casper, your right (rear) foot should be completely resting on the nose and should not be touching the ground at all. Your left (front) foot should also never touch the ground during the duration of the casper. It may take some practice, and your feet can often touch the ground a little bit, but a no-touch capser (from either foot) is what you should be aiming for. |
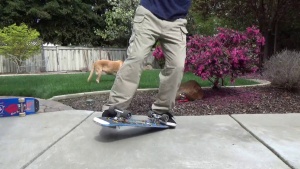 Note: In a proper casper, your left (rear) foot should be completely resting on the nose and should not be touching the ground at all. Your right (front) foot should also never touch the ground during the duration of the casper. It may take some practice, and your feet can often touch the ground a little bit, but a no-touch capser (from either foot) is what you should be aiming for. |
| Getting Out | |
| Deck | Powell Peralta Rodney Mullen Chess Re-Issue Deck |
| Trucks | Independent 109 Stage 11 Trucks |
| Wheels | Sk8Kings Crown Jewel 98A Wheels |
| Bearings | Mini Logo |
| Bushings | Khiro Pink 98A & Black 95A Bushings |
| Hardware | Khiro Skateboard Products |
| Risers | Khiro Flat Shock Riser Pads |
| Skid Plates | Sk8Kings King Plate II Skid Plate |
| Grip Tape | Mob Griptape |
| Mounting Holes | Old school hole pattern |
