Rail to Casper: Difference between revisions
Jump to navigation
Jump to search
(Created page with "{{Trick | title = {{PAGENAME}} | image = Heelside Railstand to Casper Goofy SBS 04.jpg | caption = Heelside Railstand to Casper (Goofy) | image2...") |
mNo edit summary |
||
| Line 21: | Line 21: | ||
| stationary_trick = True | | stationary_trick = True | ||
}} | }} | ||
<!-- | |||
{{Trick video | {{Trick video | ||
| goofy_video = <youtube width="350" height="200"></youtube> | | goofy_video = <youtube width="350" height="200"></youtube> | ||
| regular_video = <youtube width="350" height="200"></youtube> | | regular_video = <youtube width="350" height="200"></youtube> | ||
}} | }} | ||
--> | |||
{{Trick step-by-step | {{Trick step-by-step | ||
| getting_out_header = <!-- Put in the step number before showing the steps to get out of a trick --> | | getting_out_header = <!-- Put in the step number before showing the steps to get out of a trick --> | ||
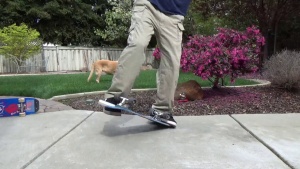
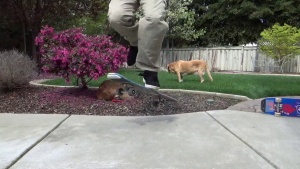
| regular_picture01 = Heelside Railstand to Casper Regular SBS 01.jpg | | regular_picture01 = Heelside Railstand to Casper Regular SBS 01.jpg | ||
| regular_caption01 = | | regular_caption01 = Start off in a [[Heelside Railstand]]. This trick is usually done on the nose so the [[Nose]] end of the board should be on your right side. | ||
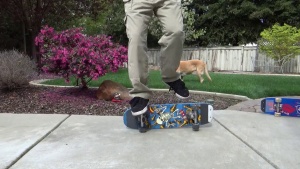
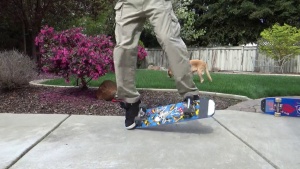
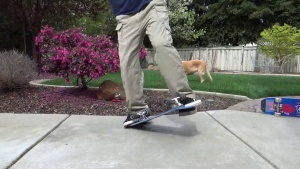
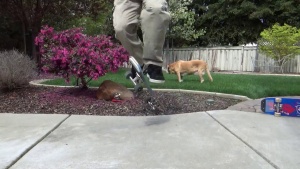
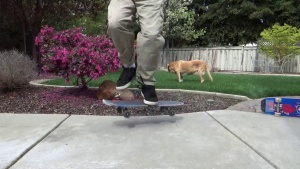
| goofy_picture01 = Heelside Railstand to Casper Goofy SBS 01.jpg | | goofy_picture01 = Heelside Railstand to Casper Goofy SBS 01.jpg | ||
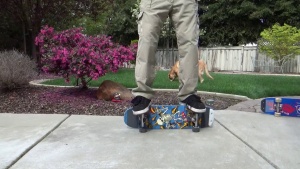
| goofy_caption01 = | | goofy_caption01 = Start off in a [[Heelside Railstand]]. This trick is usually done on the nose so the [[Nose]] end of the board should be on your left side. | ||
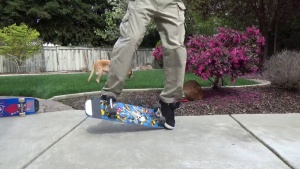
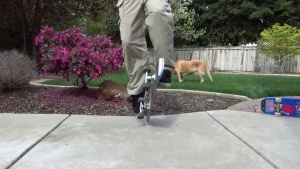
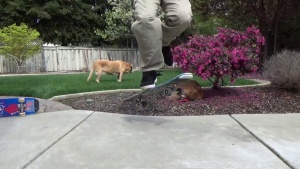
| regular_picture02 = Heelside Railstand to Casper Regular SBS 02.jpg | | regular_picture02 = Heelside Railstand to Casper Regular SBS 02.jpg | ||
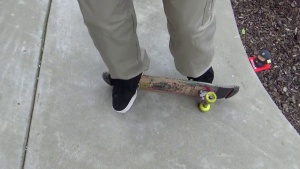
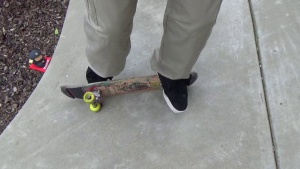
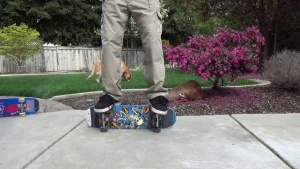
| regular_caption02 = | | regular_caption02 = Position your right (back) foot farther forward with your arch over the right wheel. This will help your right foot transfer onto the [[Nose]] more easily. Once your right foot is positioned, start shifting your weight over to your left (front) foot. | ||
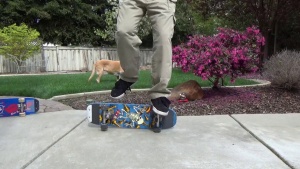
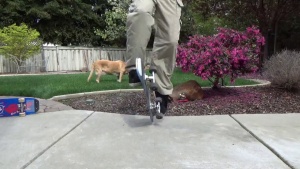
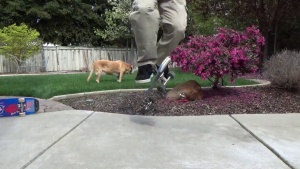
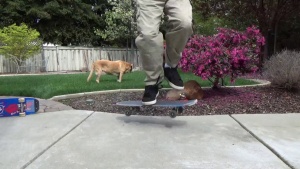
| goofy_picture02 = Heelside Railstand to Casper Goofy SBS 02.jpg | | goofy_picture02 = Heelside Railstand to Casper Goofy SBS 02.jpg | ||
| goofy_caption02 = | | goofy_caption02 = Position your left (back) foot farther forward with your arch over the left wheel. This will help your left foot transfer onto the [[Nose]] more easily. Once your left foot is positioned, start shifting your weight over to your right (front) foot. | ||
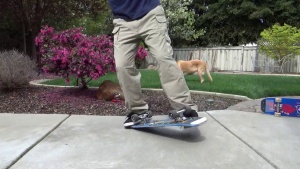
| regular_picture03 = Heelside Railstand to Casper Regular SBS 03.jpg | | regular_picture03 = Heelside Railstand to Casper Regular SBS 03.jpg | ||
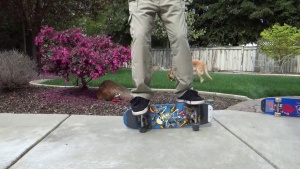
| regular_caption03 = | | regular_caption03 = Pick up your left (front) foot and move it toward the back (griptape) side of the deck. | ||
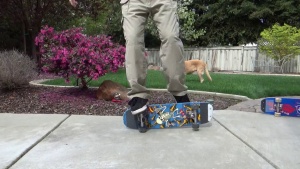
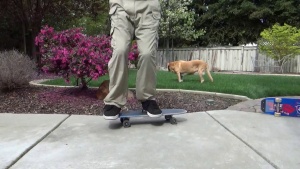
| goofy_picture03 = Heelside Railstand to Casper Goofy SBS 03.jpg | | goofy_picture03 = Heelside Railstand to Casper Goofy SBS 03.jpg | ||
| goofy_caption03 = | | goofy_caption03 = Pick up your right (front) foot and move it toward the back (griptape) side of the deck. | ||
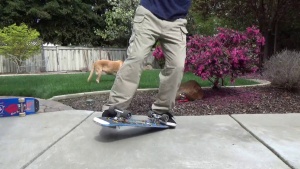
| regular_picture04 = Heelside Railstand to Casper Regular SBS 04.jpg | | regular_picture04 = Heelside Railstand to Casper Regular SBS 04.jpg | ||
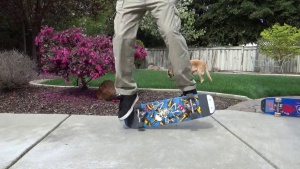
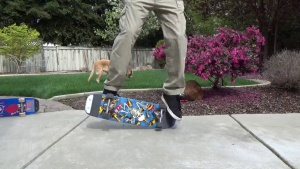
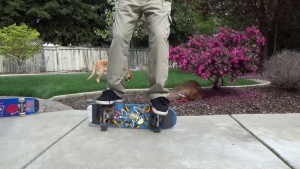
| regular_caption04 = | | regular_caption04 = Place the toes of your left (front) foot against the griptape right behind the left truck. This is where your foot will be when you go to casper. | ||
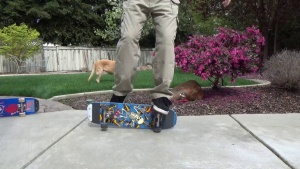
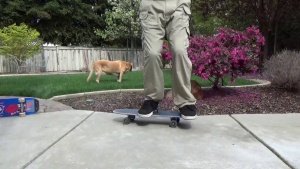
| goofy_picture04 = Heelside Railstand to Casper Goofy SBS 04.jpg | | goofy_picture04 = Heelside Railstand to Casper Goofy SBS 04.jpg | ||
| goofy_caption04 = | | goofy_caption04 = Place the toes of your right (front) foot against the griptape right behind the right truck. This is where your foot will be when you go to casper. | ||
| regular_picture05 = Heelside Railstand to Casper Regular Foot Position.jpg | | regular_picture05 = Heelside Railstand to Casper Regular Foot Position.jpg | ||
| regular_caption05 = | | regular_caption05 = Top view of foot placement. | ||
| goofy_picture05 = Heelside Railstand to Casper Goofy Foot Position.jpg | | goofy_picture05 = Heelside Railstand to Casper Goofy Foot Position.jpg | ||
| goofy_caption05 = | | goofy_caption05 = Top view of foot placement. | ||
| regular_picture06 = Heelside Railstand to Casper Regular SBS 05.jpg | | regular_picture06 = Heelside Railstand to Casper Regular SBS 05.jpg | ||
| Line 99: | Line 99: | ||
| goofy_picture14 = Heelside Railstand to Casper Goofy SBS 13.jpg | | goofy_picture14 = Heelside Railstand to Casper Goofy SBS 13.jpg | ||
| goofy_caption14 = | | goofy_caption14 = | ||
}} | }} | ||
[[Category:Draft]] | |||
Revision as of 05:15, 7 March 2016
{{#invoke:Infobox|infobox}} A Heelside Railstand to Casper is one of many fun tricks you can do as a way of getting out of the Heelside Railstand.
Step-By-Step
| Regular | Goofy |
|---|---|
 |
 |
 |
 |
